First of all - I've got to say that I'm really pleased with how this card turned out. Especially since it wasn't meant to look like this when I first started. This card was made from a mistake...!
As I was creating the background for the
Happy Hippos Shaker card, I didn't like how the colors turned out. I found it to be a little too dark to be a sky background. So I put it aside and started over with some lighter colors.
Then, when I was about to create this shark-card, I was initially inspired by
this card from the talented Yainea. But as I started to play, I got the idea to switch the card fronts and make the intended front the inside instead. And now - I'm totally glad I did!
The "new" card front is just some washitape and the polaroid frame die from Gummiapan, paired with the shark fin and sentiment from the Lawn Fawn stamp set "Duh-nuh". The waves were made using the wave accent die from Lawn Fawn.
The inside is made of Distress Oxides and some Distress ink in tumbled glass, broken china and faded jeans. See now why I thought it was too dark for a sky?!! So to make it an underwater scene, I added a spritz of water to make the colors oxidize. The corals, sea weed and little fish are from the "mermaid for you" stamp set - also from Lawn Fawn - and they were stamped directly onto the distress background, using Versafine black ink.
And the shark is, of course, also from the duh-nuh set. Colored in copic sketch markers: C5-3-1 and highlights with a white gel pen. And if you can spot the discoloration on the shark's forehead - that was also a mistake as I dropped one of my ink blending tools on the shark while putting them away from another project... Oh well!
And to avoid the messiness of embossing on the polaroid frame - I just stamped the word "jawsome" (from the duh-nuh set) in black versafine ink and then went over the letters with a clear sakura glaze pen. Just to get some dimension. The bubbles are also enhanced with some glossy accents.
Thank you so much for stopping by. Hope you have a "fintastic" day! (yeah - another "pun intended")
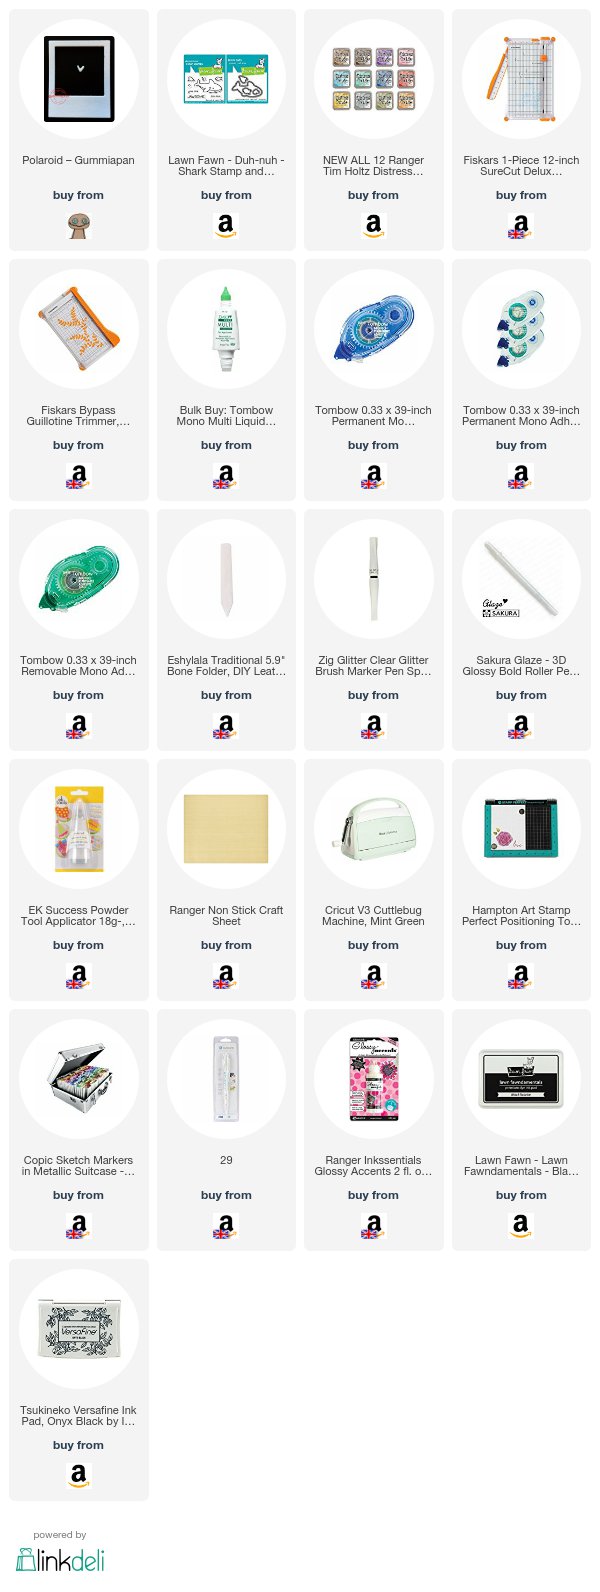
Below you can find links to the supplies I've used - ones that still are available for purchase, that is :-)
Affiliated links used when possible at no cost for you...!